I posted an image in Facebook groups that I belong to and enjoy seeing others work and sharing my own, the image was called the Hobbit Field and I had pointed out that I wasn’t giving details of location as I normally do, so not to bring a big discussion over the image and maybe people not going about it in the right way doing something similar. So I’ve decided to explain in a blog post that makes it easier to explain and show images to help explain things in more detail.

The Hobbit Field
Top of the hill
Living in Bristol has most things that any thriving city needs, including places of beauty close by with rolling hills and lakes, but also includes a busy airport.
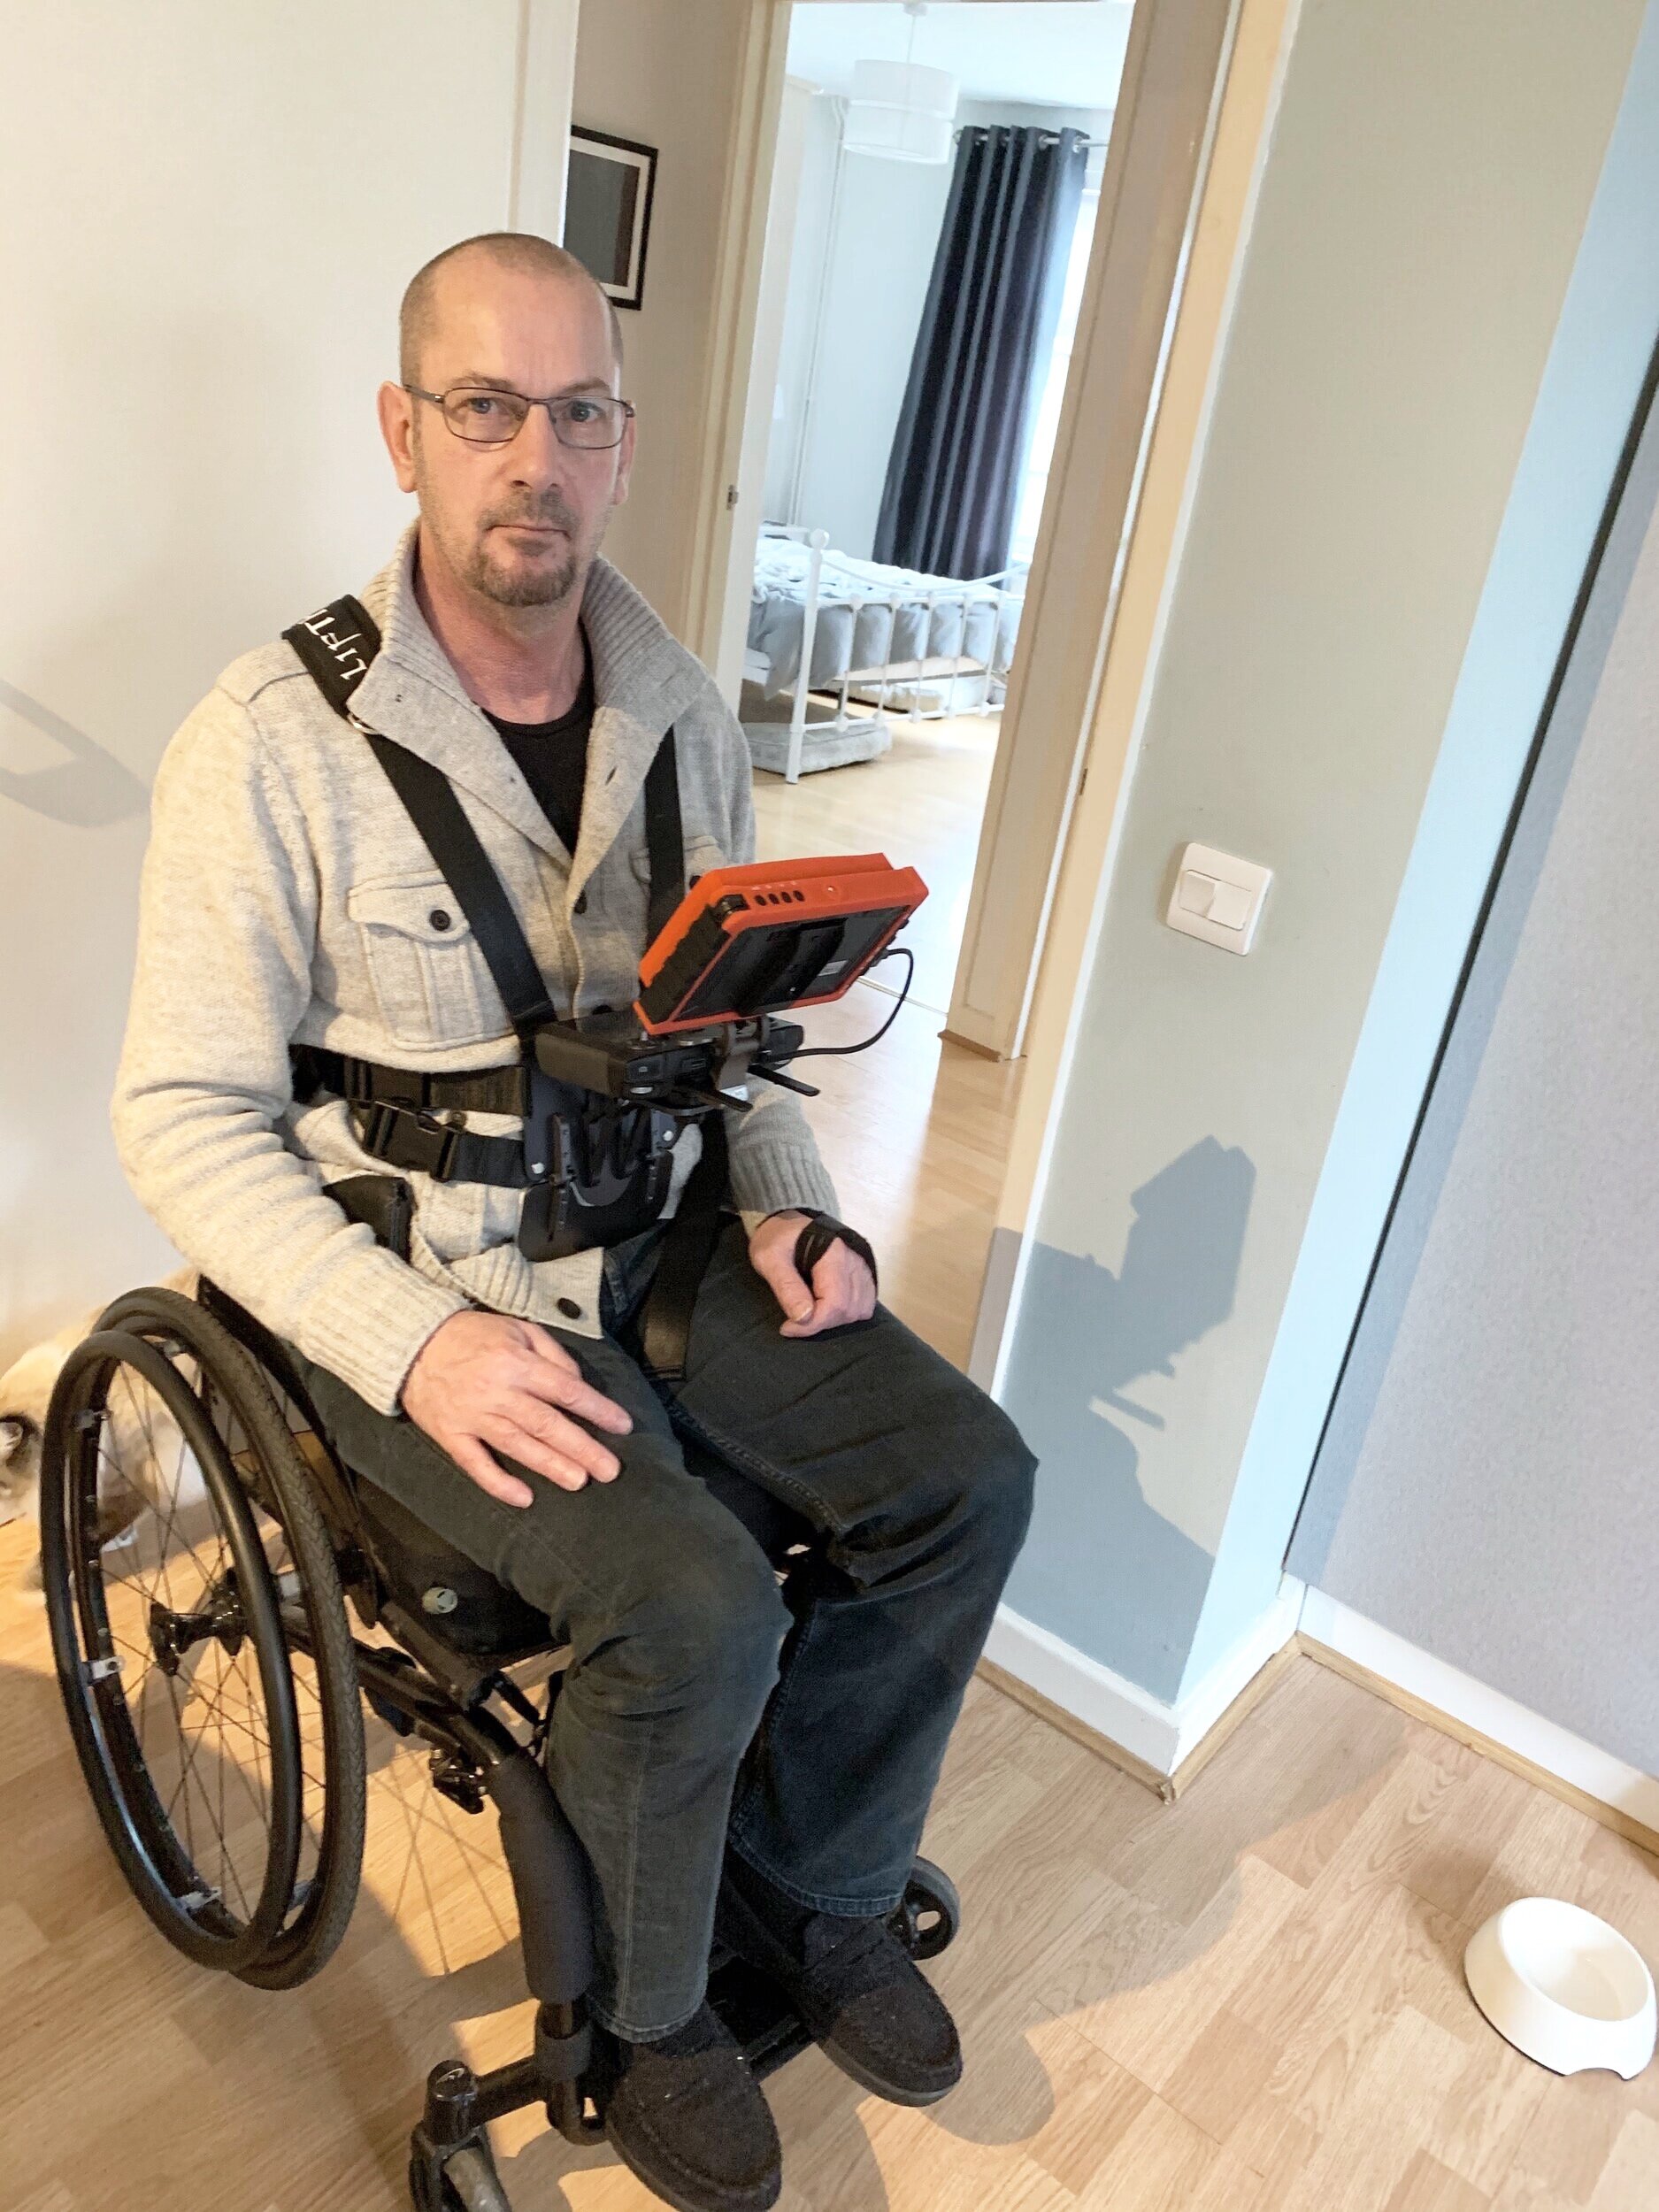
There is a great location overlooking the South of Somerset and the beauty it holds that can be seen for miles at the top of Dundrey hill as it’s known, but has restricted views from the road and lay-bys it has, specially for someone like me in a wheelchair.
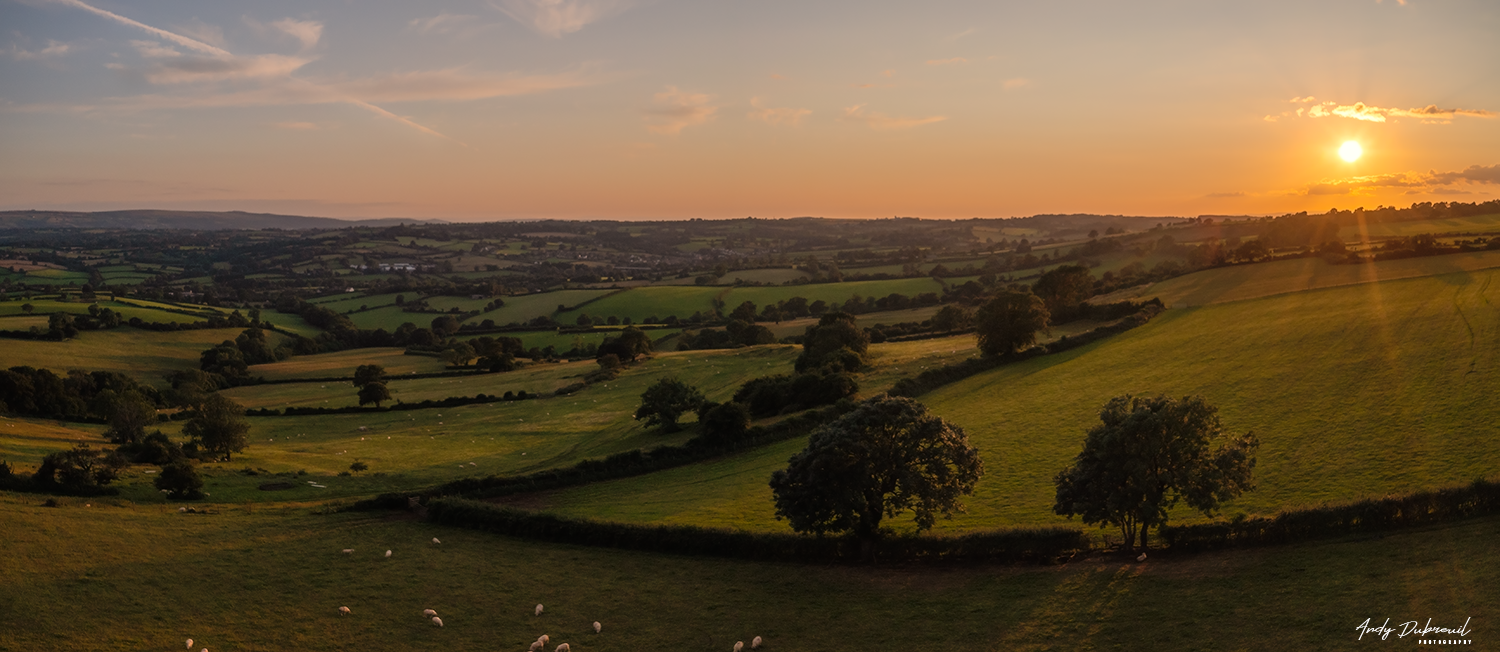
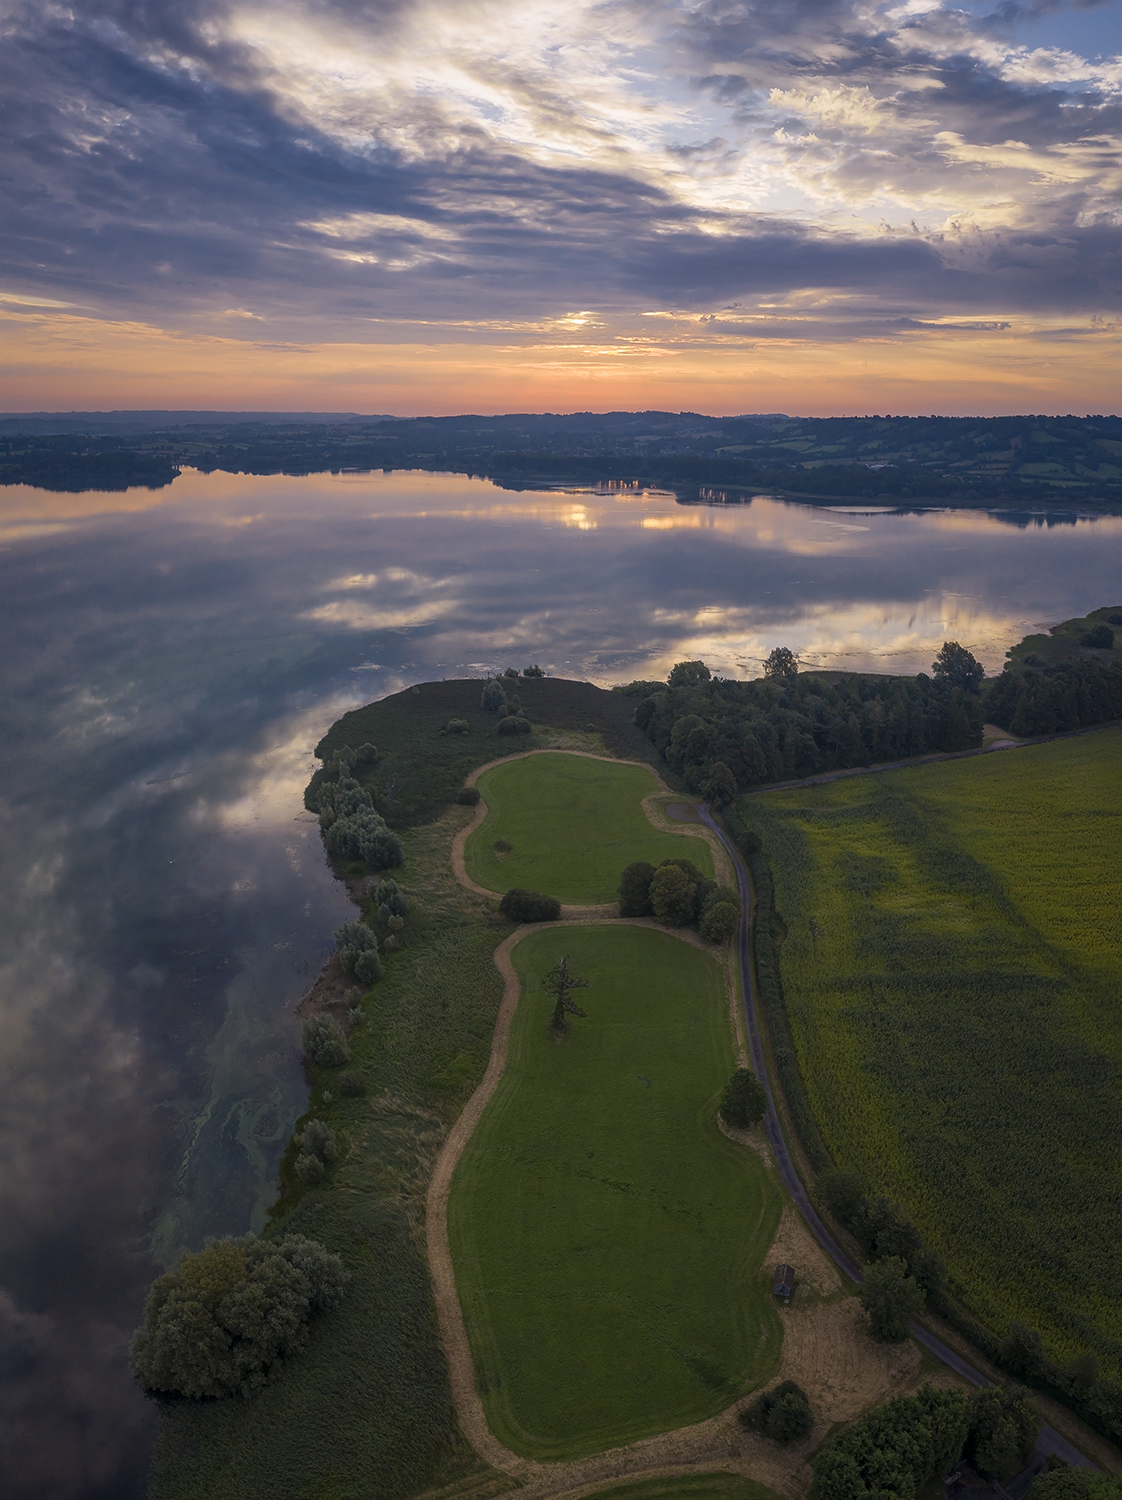
Sunset on Hobbit Field
Research NATS
The NATS app also known as Drone Assist by Flight Angels gives a great view of the area with restrictions that are in place like CRT and FRZ that are the important ones to follow and understand.
Having a CRT zone in my area that I fly regularly, I have the Air Traffic Control phone number in my phone and always ring them with my details and duration of flight. Some will say you don’t have to contact them, but I prefer to so they know I’m in the area if there was a aircraft emergency like what happened a week ago when a Easy Jet was had a bird strike abs had to make an emergency return to the airport that might of meant it didn’t stick to the routine flight area.
With the FRZ you have to contact the air traffic control or file for permission through NATS via their website to gain permission.
You need the coordinates of your point of takeoff and land abs give details of flight, time, contact number and do a risk assessment.
Gaining Permission
I contacted the Bristol Air Traffic Control beforehand to find out if a flight was possible from the location I had chosen and gave my details of A2 CofC certified, operator ID, drone, duration of flight, type of aircraft and maximum height as well as setting out cone off area and helipad to land on. My location is just over 2,000m from the FRZ so not actually in the space that would have needed me to file for a permission with NATS and can be decided by ATC.

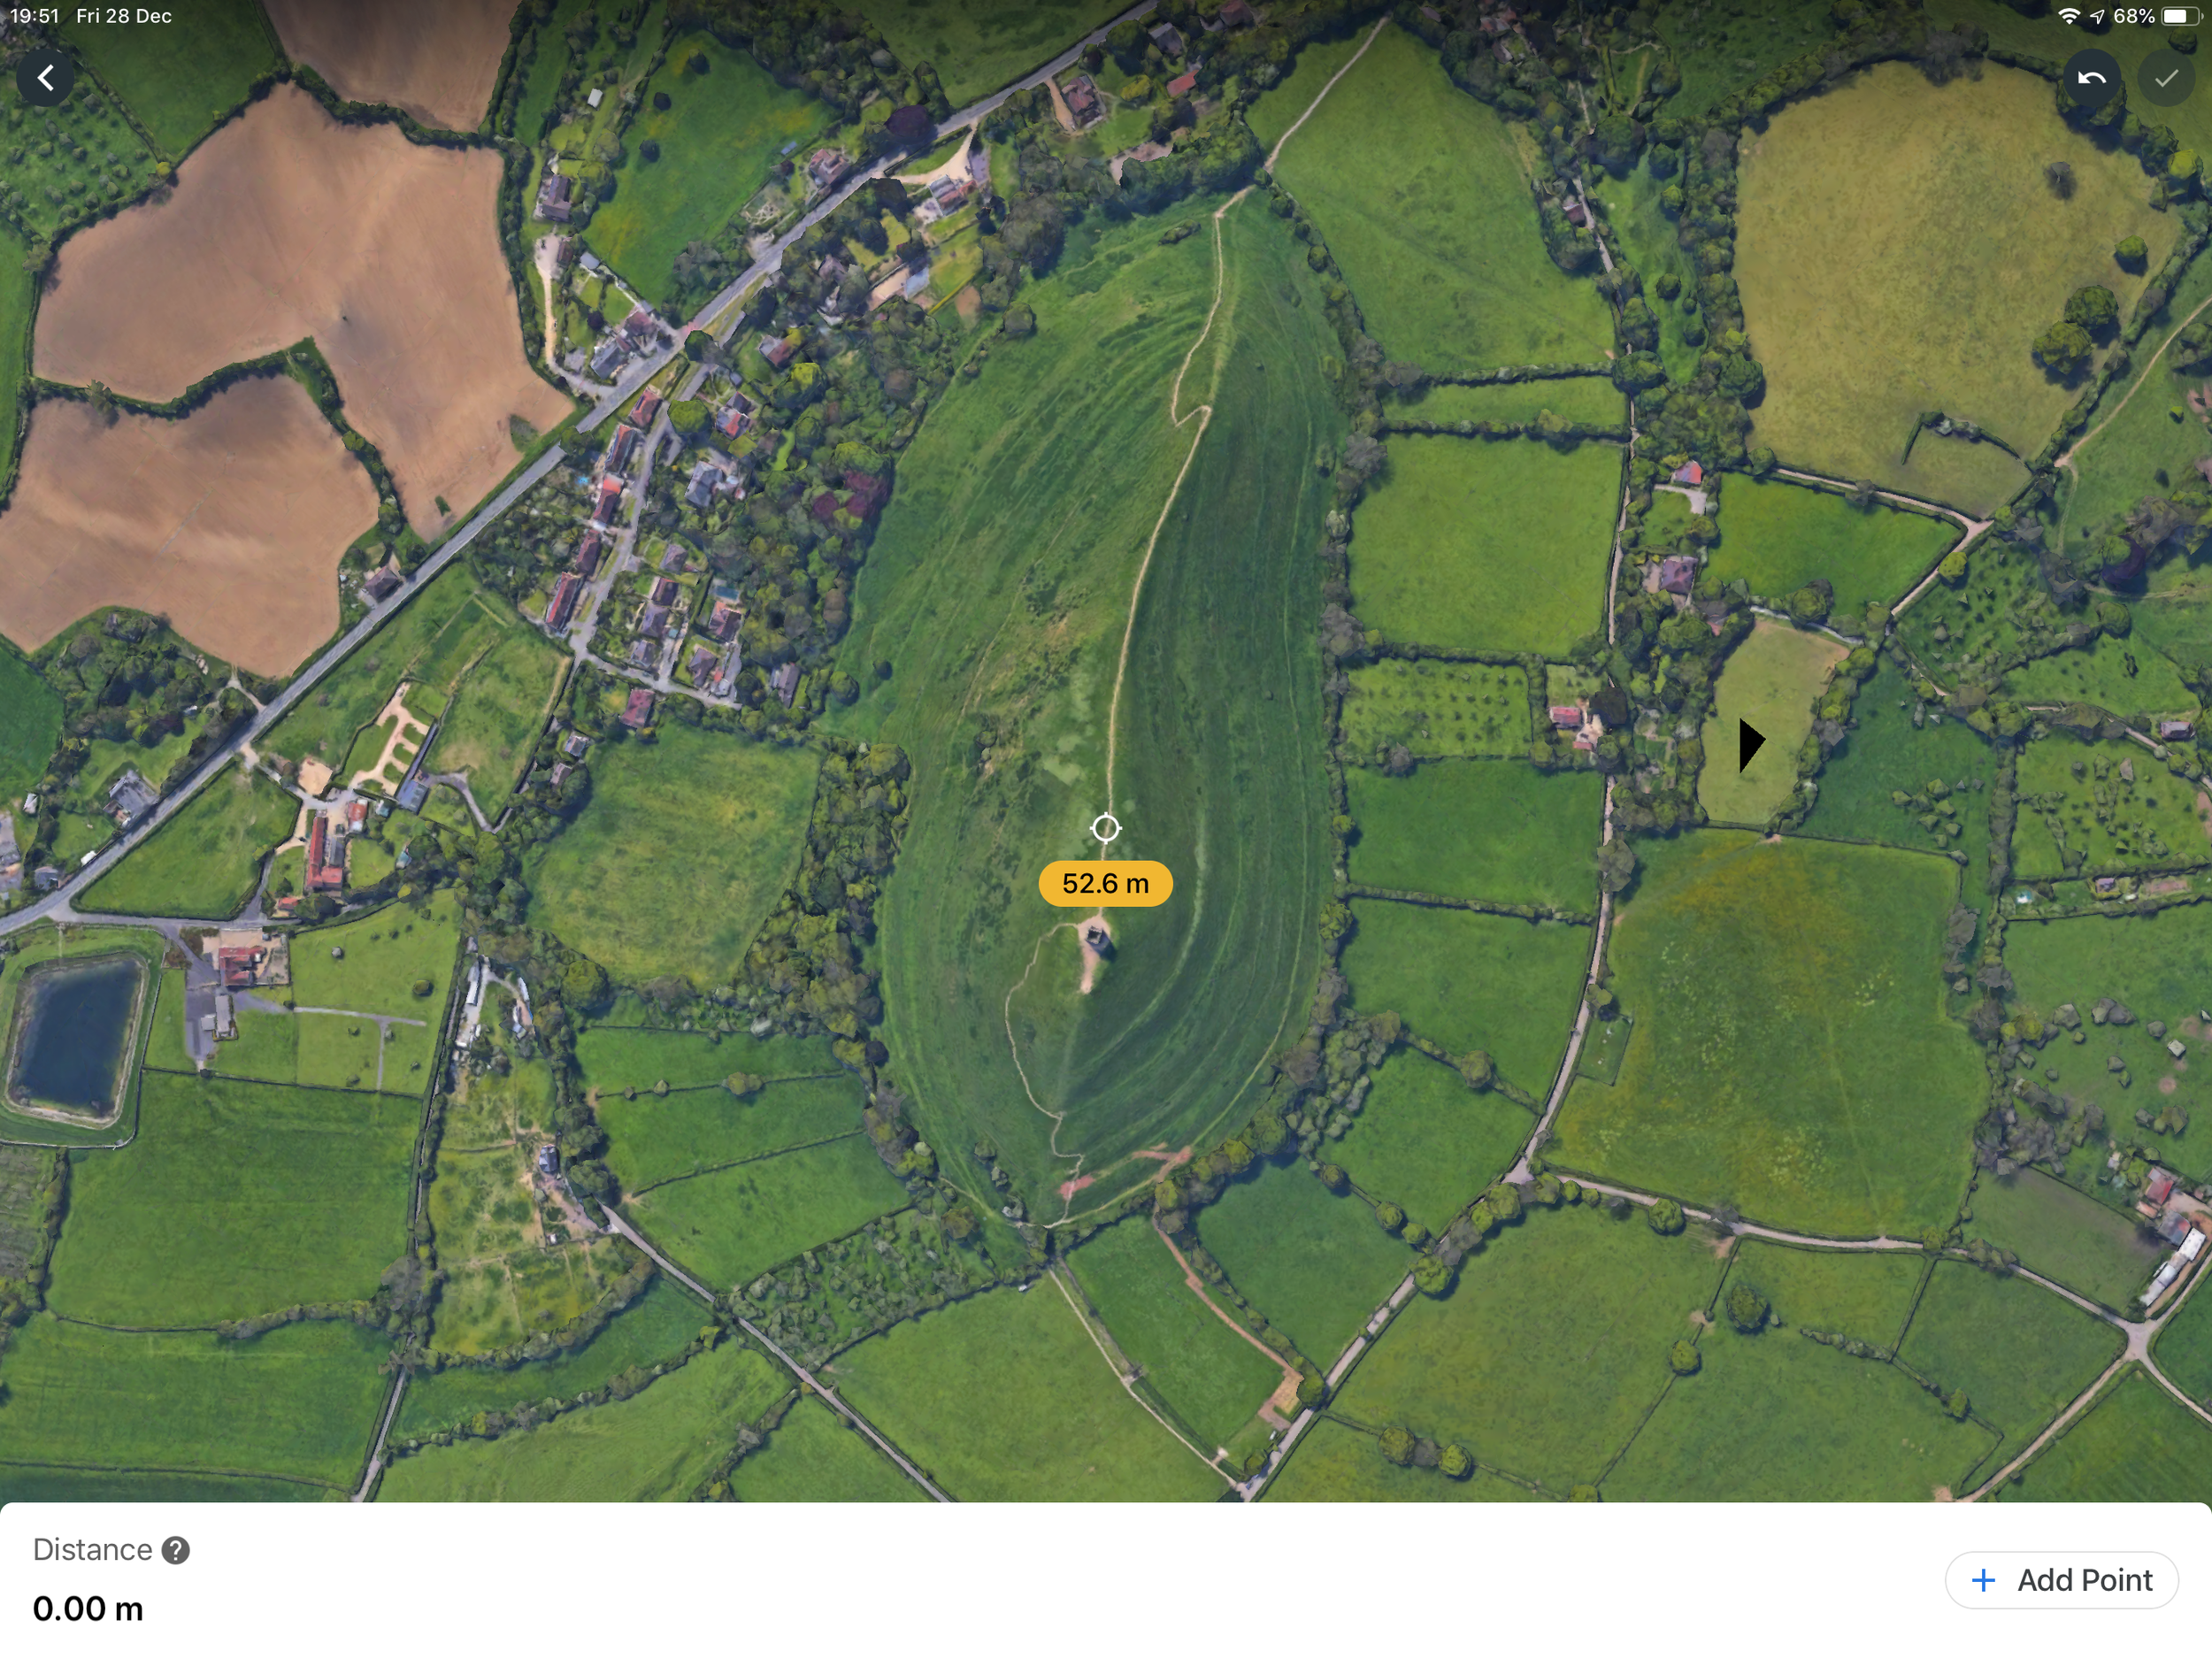
Image shows Airport flight zones and my location.
You can see from the image the airport zone and my location on the map.
I had to take into account that being on a hill that is 160m above sea level, this means I’m going to be that close to an aircraft coming over me.
In my research I waited for an aircraft to fly over to see how close it would be, and I can say I could see nearly everything on the craft and the wheels were down ready to land! At the location using FlightRadar24, I could see the actual height at my location the aircraft would be 1300ft above me; that’s 396.24m and thats close
So my maximum height was thought to be maybe 50m but I changed this to under 20m to be extra safe.
I did a small video but took over 180 images of the sunset which was the main purpose of the flight. I could of waited for for an aircraft to come overhead to capture an image with the drone, but this would had started a bee’s nest of accusations and feed into hysteria on what I had done, but I was not going to risk my license of the drone community to be destructive in doing so and see it as irresponsible, which I'm not.
I used up one battery and as I had landed I got a call from the ATC to say another aircraft was inbound but I had decided not to fly anymore and thanked them for their time and support and they said anytime.
My point of view.
It might seem a lot of hassle but it was a couple of two minute calls with support from the ATC and doing a simple and logical risk assessment. Showing being responsible puts the positive into what could be the negative. If the pilot had seen me with high vis jacket on and a visible helipad, he might of given ATC a call with concerns but I believe that ATC gives the pilots the heads up of my presence and that I should not be of any danger to them in my drone being to high and could cause a collision. Respect is given when earned.
This blog isn’t to exonerate myself from anything but to highlight what I did and why that has given me the benefit of an image that would be hard for anyone to do unless they follow the rules.